
How to Build a Kokedama
Created by Frays and Knots

Loosely translated, ‘koke’ mean moss and ‘dama’ means ball. Kokedama originated from Japan where bonsai plants were grown in moss covered spherical balls made of soil. A kokedama is tied closely to bonsai, it is also called a ‘poor mans bonsai’.
Using wet soil mixed with peat, then wrapping it with moss we are restricting its growth, promoting slower growth. Kokedamas can be created with a wide variety of plant species, providing a range of possibilities!
Kokedamas in its modern form are very popular as it is a unique way to present plants and flowers and bring a little more nature into your space.
What is a Kokedama?
There are many types of plants that can be used in a Kokedama which allows for a wide selection when choosing your plant. The primary thing to take into consideration is how much moisture the plant can tolerate. Plants that are prone to over watering will not do well sitting in a moist environment constantly. These types of plants are cacti and succulents, which should be avoided. Avoid using any outdoor plants as these need room to grow. The best plants to use are basically any indoor plant. Peace Lily’s, Pothos, any type of Fern, Peperomia, Begonia, Syngonium - the list goes on!
In your kit you will have a type of fern to work with. Ferns require lots of water, which we will go into further depth soon.
Choosing Your Plant
Before we get into creating, there are just a few steps we need to do. Firstly, the sphagnum moss needs to be soaked. Place it in a bucket or bowl and fill it with room temperature water, enough to cover all the moss. Allow at least 5 minutes for the moss to soak up the water. This step can be also done a few hours before making or even overnight to really absorb all the water.
Next is mixing the bonsai mix and peat moss. Place them in a bowl or bucket, together, add enough water that the mixture is mud-like. Now that your hands are messy, lets get into the dirty work!
Before We Get Started

Let’s Get Messy!

Removing the Plant
Gently squeeze around the pot to loosen up the soil. Tilt the pot on its side, use one hand to hold the pot and the other hand to gently remove the plant from the pot. If the plant doesn’t want to come out or feels stuck, keep squeezing the pot to loosen more soil (this would usually happen if the plant is root bound).

Remove the Soil
Now remove the soil from the plant. If there are some extra long roots hanging, go ahead and cut them off. Be careful not to snap too many roots and never remove more than 25% of the plants roots as this can send them into shock, pretty much killing the plant.

Adding Soil
Using the new soil mix you have made up, bonsai soil and peat moss which should have a muddy/clayey texture to it, start adding that to roots. Add small bits at a time to create a ball around the roots. Keep adding the soil until all the roots are covered (you might not need to use all the mixture). If the mixture is not sticking together add more peat moss or add more water.
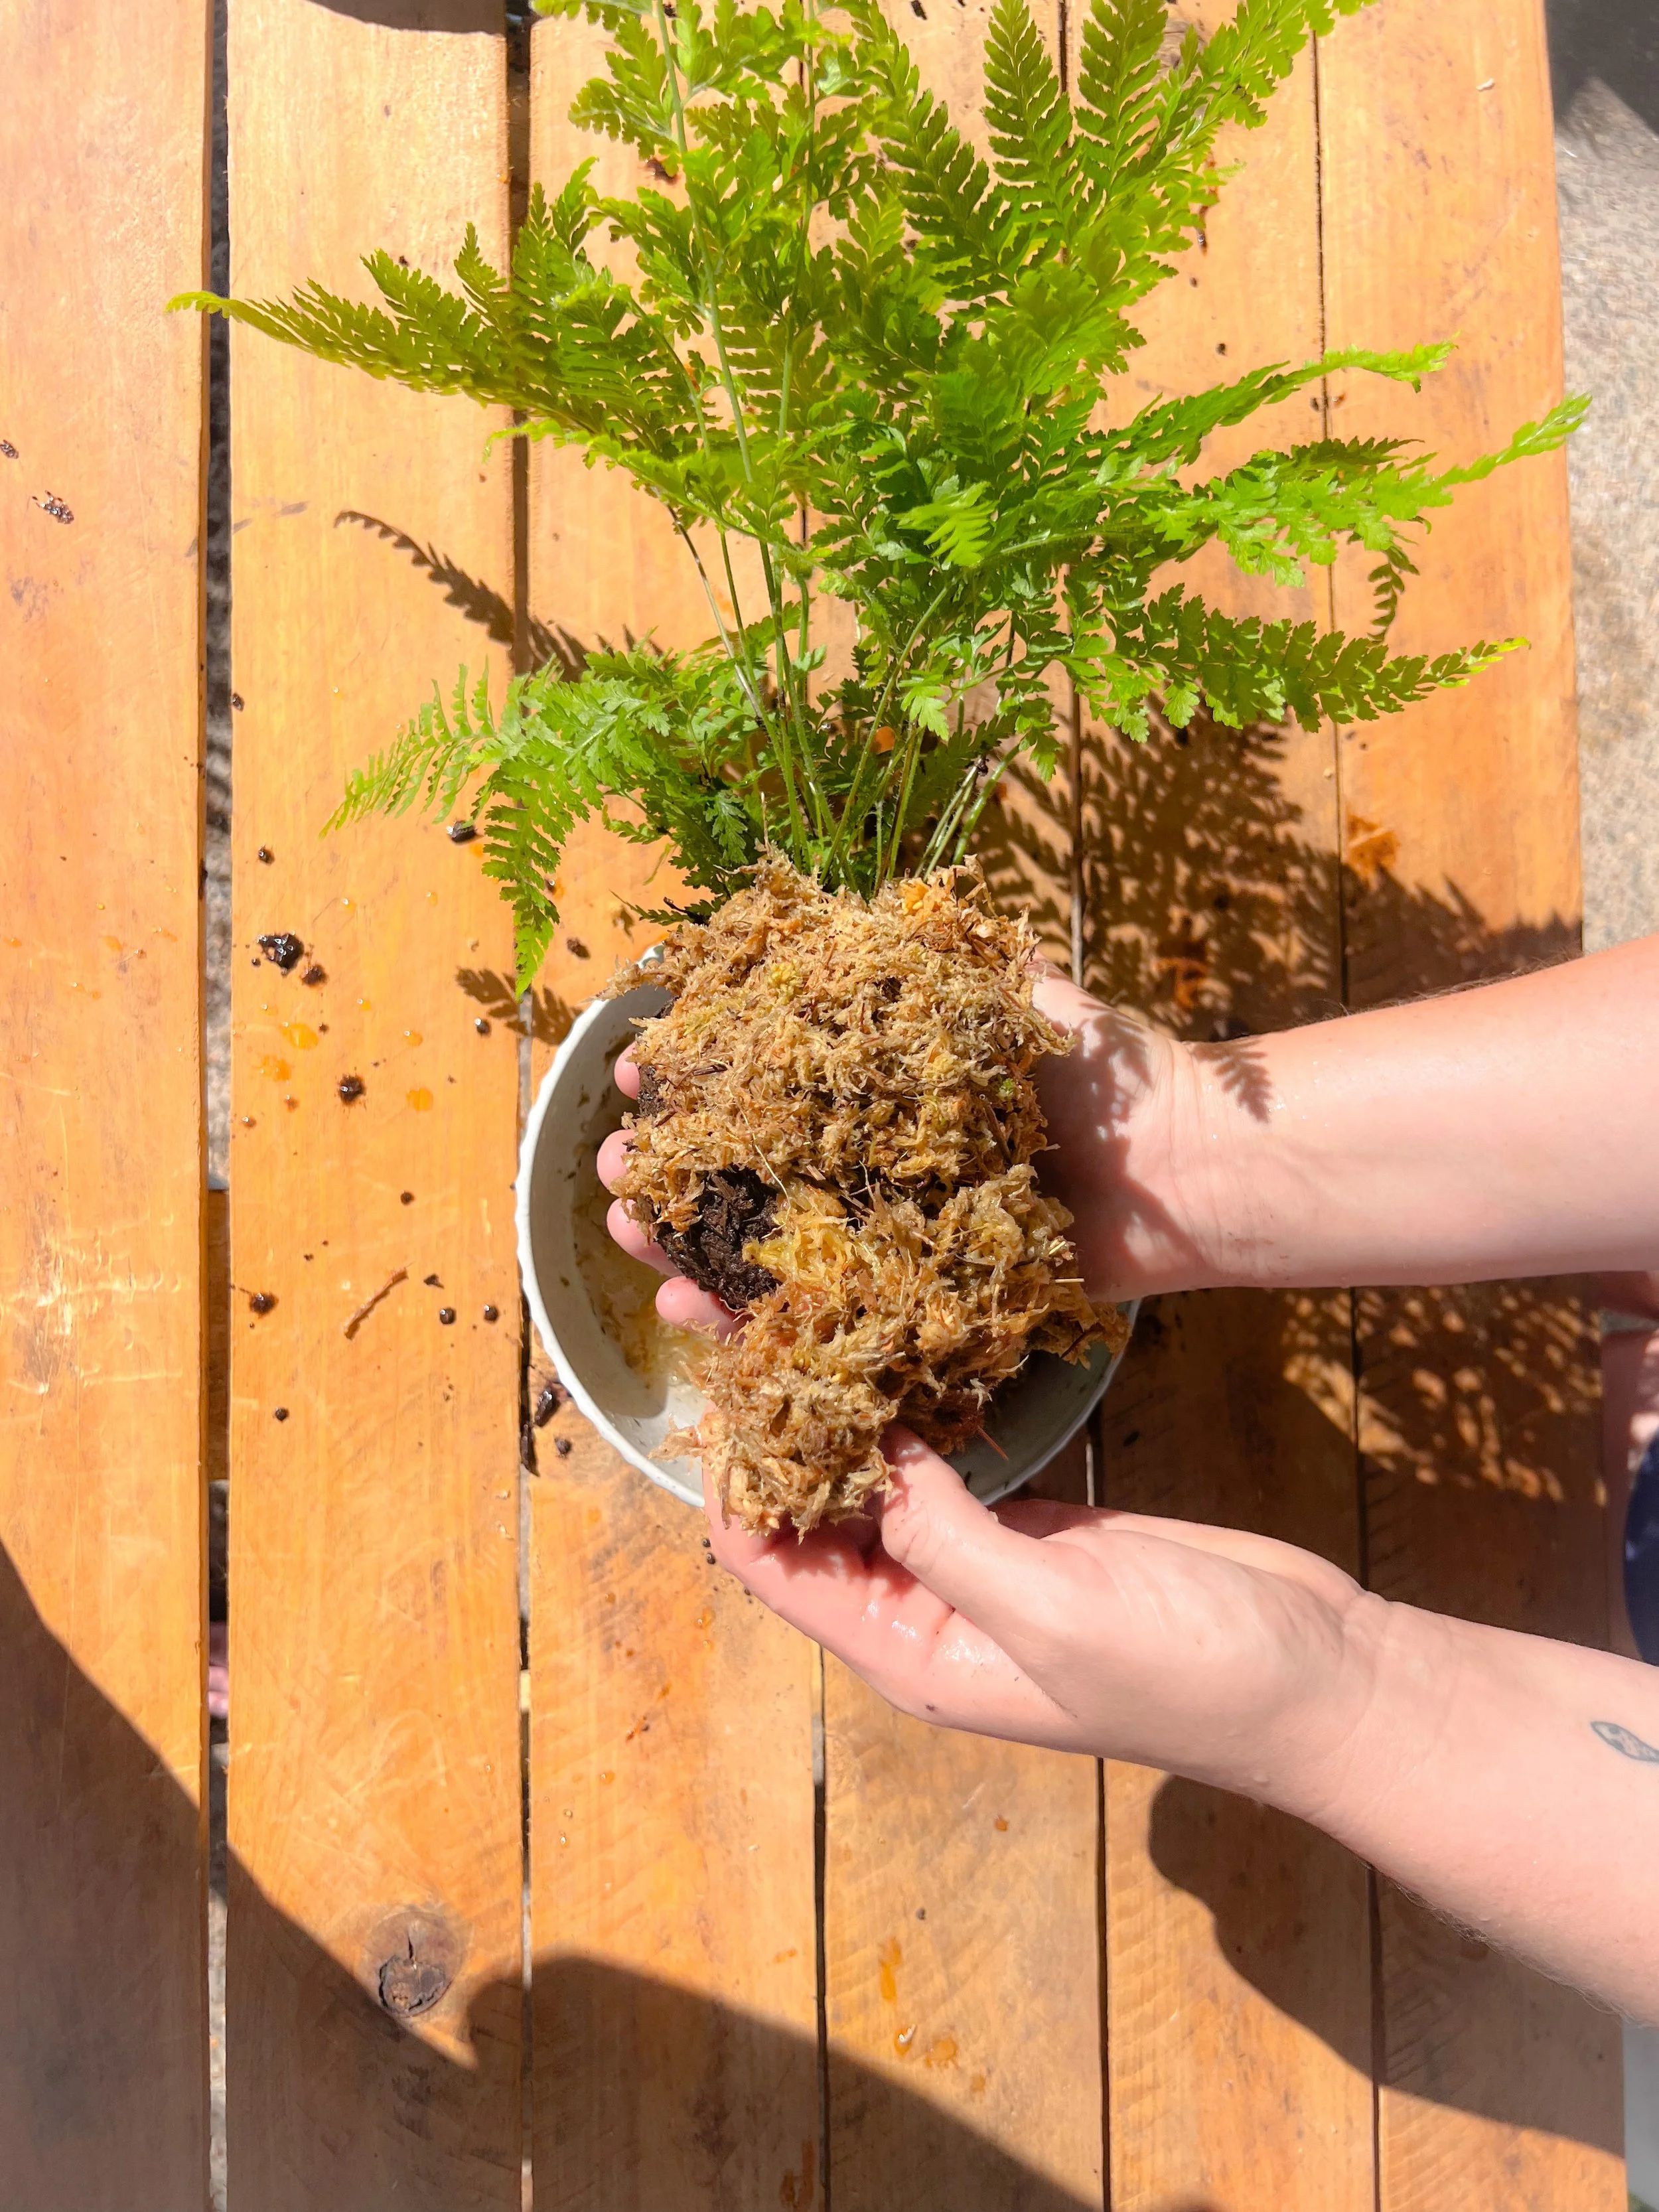
Adding Moss
This part can be a bit tricky because it doesn’t stick like the soil mixture. Cover just a quarter of the ball in the sphagnum moss, using fishing line to secure the moss. Repeat this covering small sections of the ball at a time. Once you’re ready to cover the bottom, I find it easier to have the plant upside down then add the moss.

Pulling It Together
Your ball might look a bit egg-shaped or not round at all. That’s okay! We’re going to pull it together now and make it into a circle. If there are tiny gaps of between the sphagnum moss, using the twine you’ll pull the ball tight and those gaps will be covered.
There are 2 ways to wrap your ball. You can try for a criss-cross pattern that will be available online or, you can wrap the ball up with the twine in any direction possible. You can use all the twine, you don’t have to use all the twine either. Use enough twine so that the sphagnum moss feels secure.
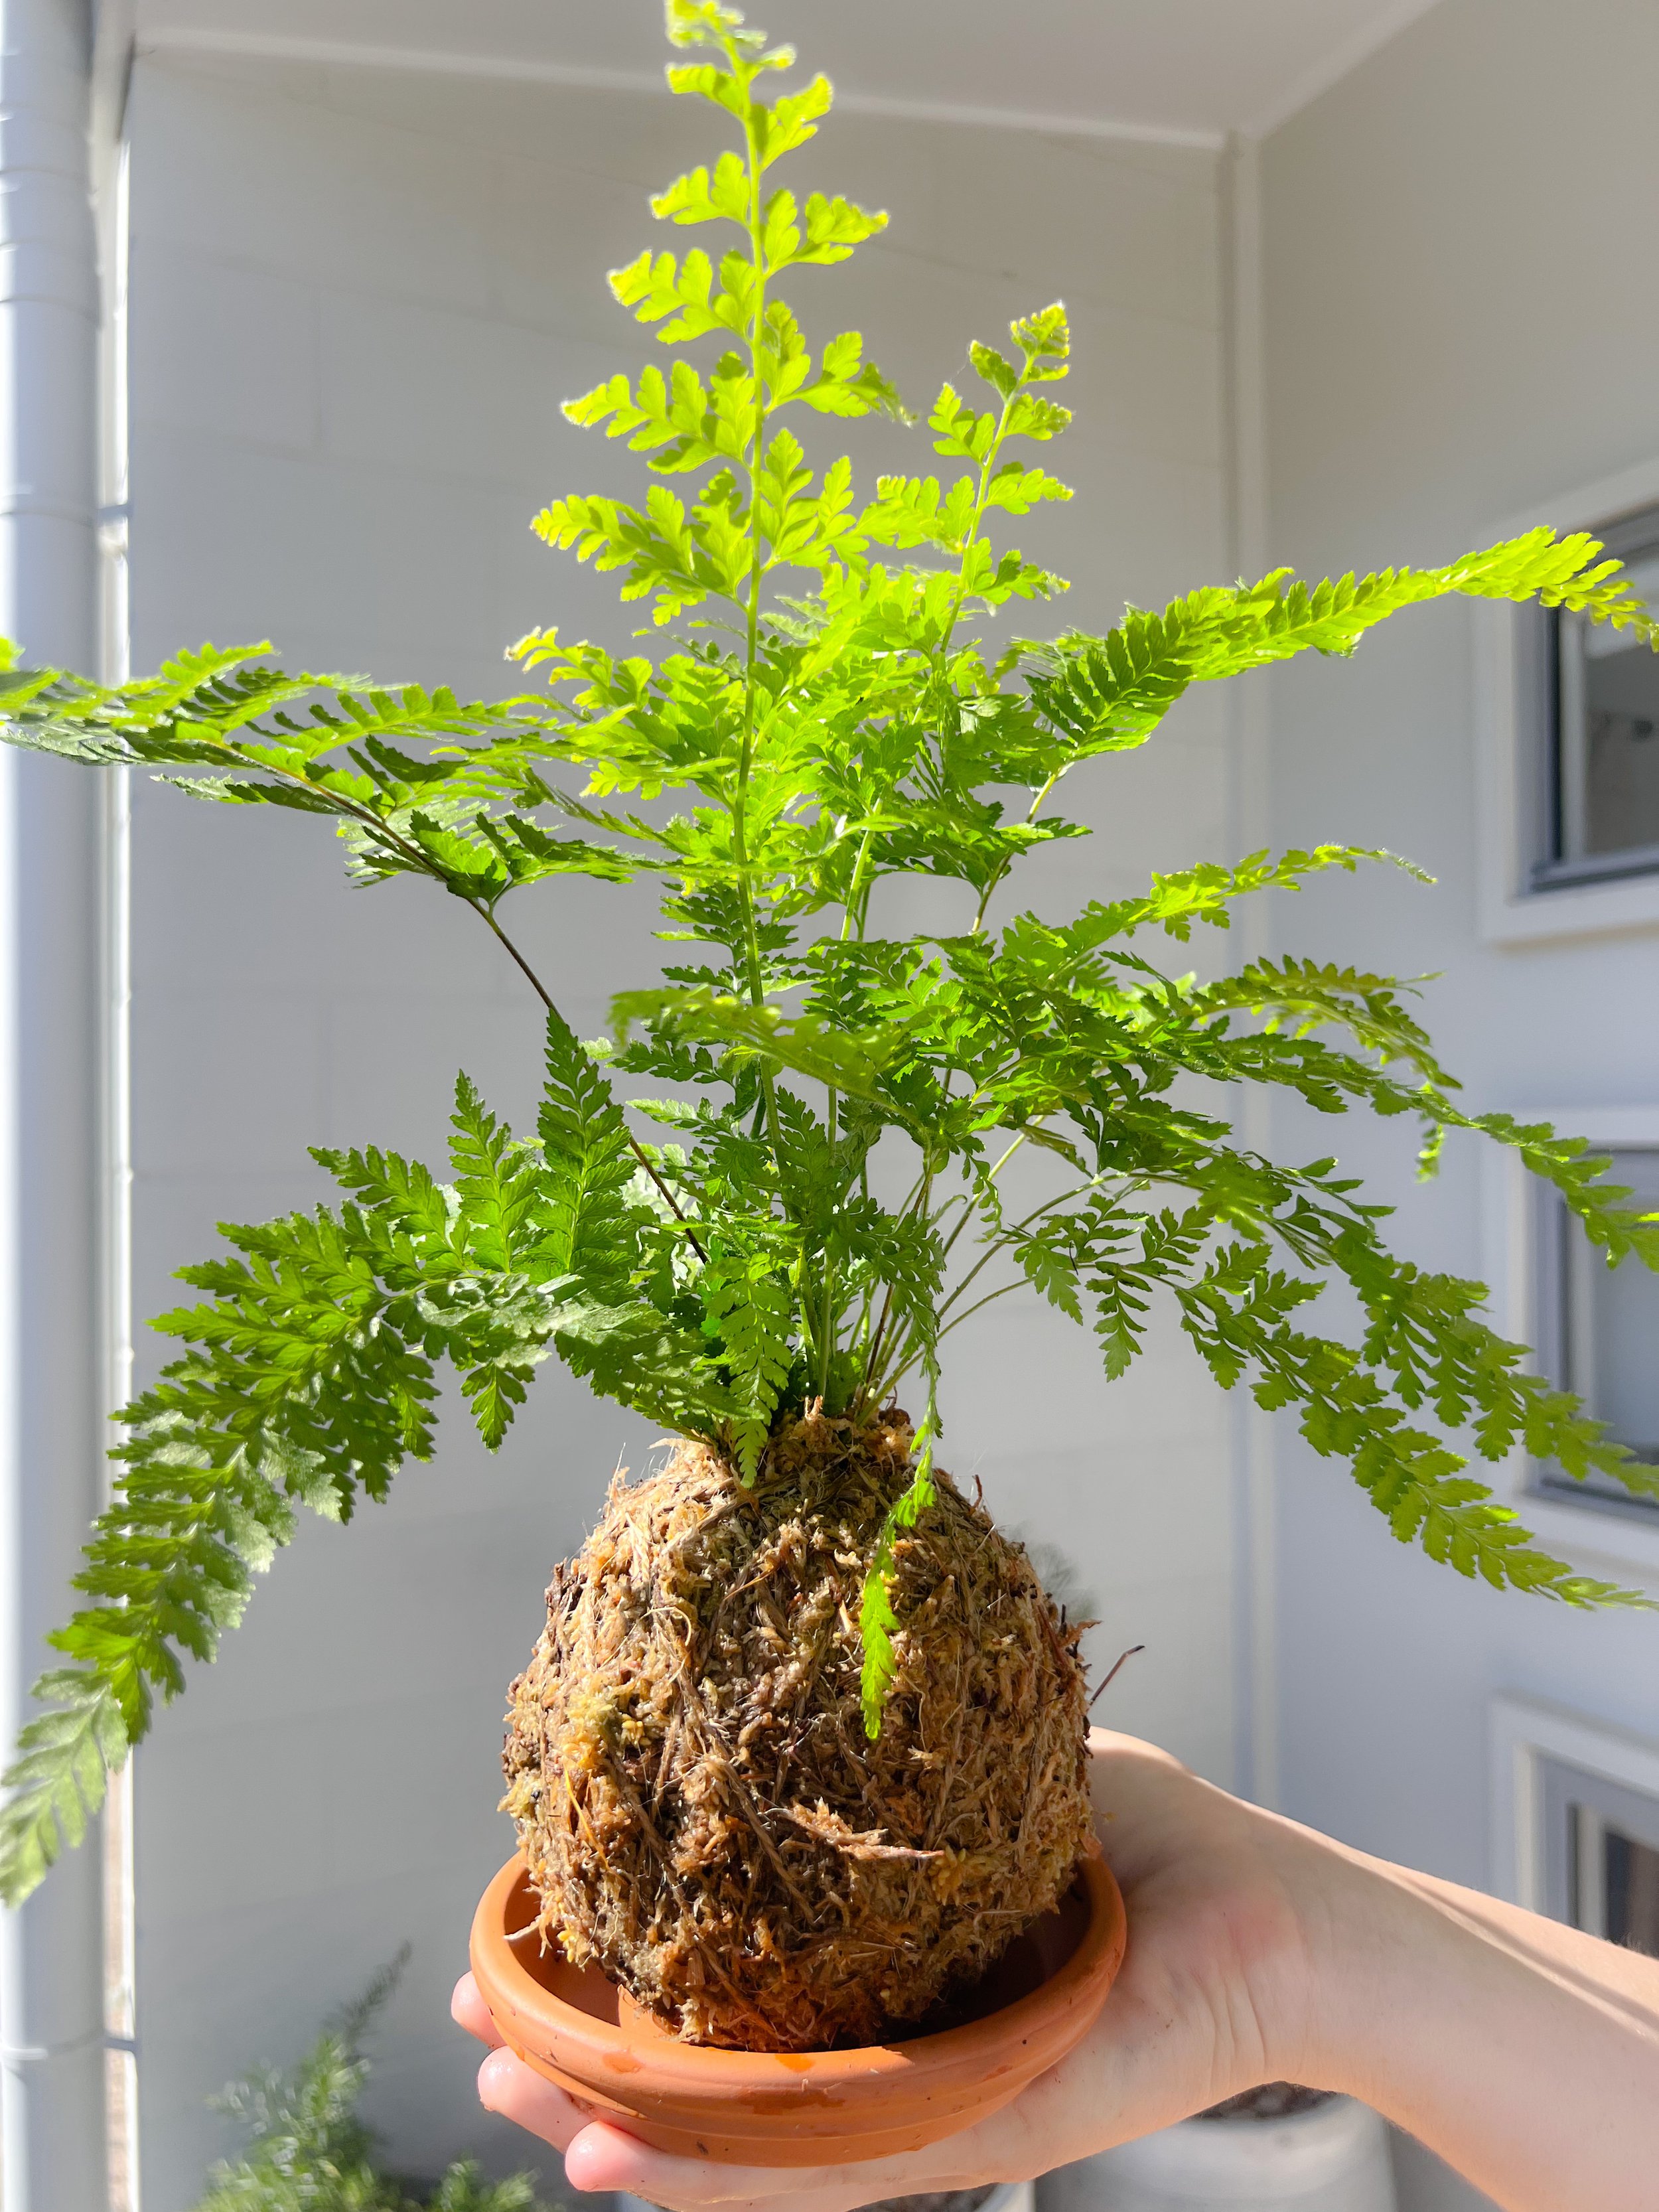
To make it into a ball shape, squeeze the ball while rotating it. It is best to do this step now as the ball is super fresh and hasn’t set yet.
How To Look After Your Kokedama
Click below to find important tips on how to care for your kokedama